
Installing solar mounting structures is an important step in setting up a solar panel system. Here is a guide with some tips and tricks to help you with the installation process:
1. Plan and Design:
o Determine the optimal location for your solar panels based on factors like sunlight exposure, shading, and structural considerations.
o Assess the roof or ground area where the solar panels will be installed to ensure it can support the weight and size of the mounting structures.
o Consider local building codes, regulations, and permits required for solar panel installations.
2. Choose the Right Stand:
o Select a mounting system that is compatible with your solar panels and suitable for your installation site (roof or ground).
o Common types of solar mounting structures include roof mounts (flush, tilted, or adjustable), ground mounts (pole mounts, ballasted mounts), and tracking systems.
o Ensure that the mounting system is designed to with stand local weather conditions like wind, snow, and seismic (earthquakes) activity
3. Arrange Tools and Equipment:
o Depending on the type of mounting structure, you may need tools such as a drill, screwdriver, wrenches, level, tape measure, and safety equipment like gloves and safety glasses.
o Verify that you have all the required components provided with the mounting system, such as rails, clamps, brackets, grounding equipment, and fasteners.
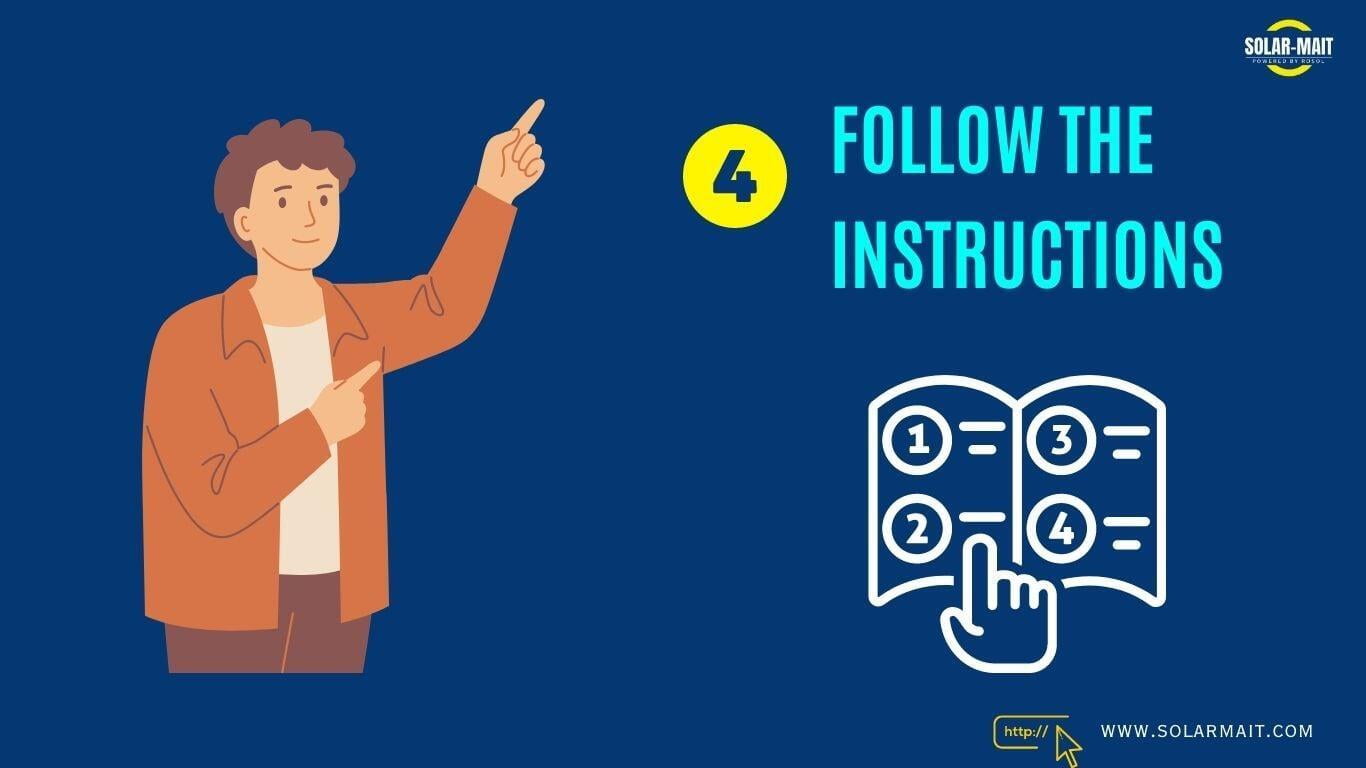
4. Follow the Instructions:
o Carefully read and understand the installation instructions provided by the manufacturer of the solar mounting system.
o Follow the recommended step-by-step process for assembling and installing the mounting structure.
o Pay attention to any specific requirements or precautions mentioned in the instructions.
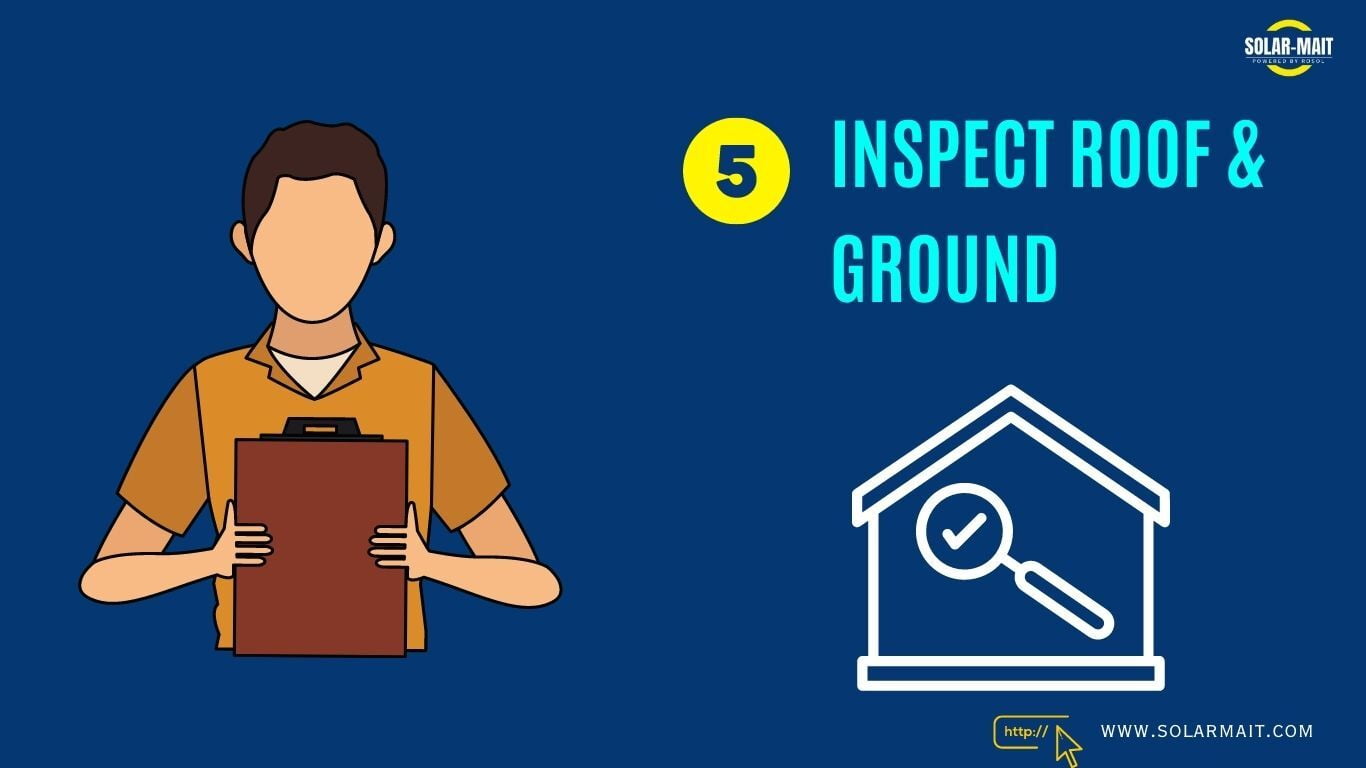
5. Inspect Roof & Ground:
o For roof-mounted systems, inspect the roof for any damage, leaks, or weak areas. Repair or reinforce them before installing the mounting structure.
o Clean the surface where the mounting system will be installed to remove any debris or obstacles.
o For ground-mounted systems, level the ground and remove any vegetation or obstructions.
6. Attach the Stand:
o Install the mounting rails or brackets as per the manufacturer's instructions, ensuring they are securely attached to the roof or ground.
o Use appropriate fasteners (screws, bolts, etc.) that are recommended for the specific mounting structure and the surface you are attaching it to.
o Double-check the alignment and levelness of the mounting structure to ensure proper panel orientation and performance.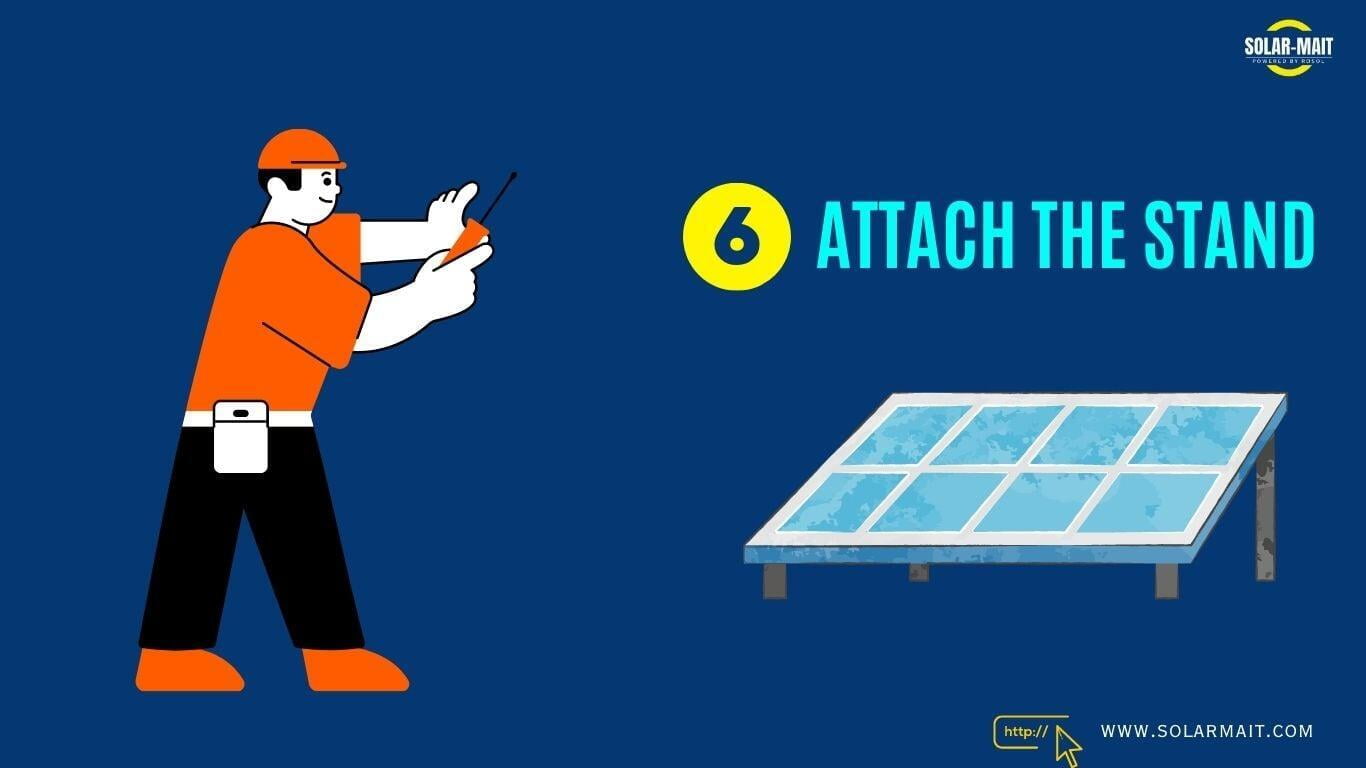
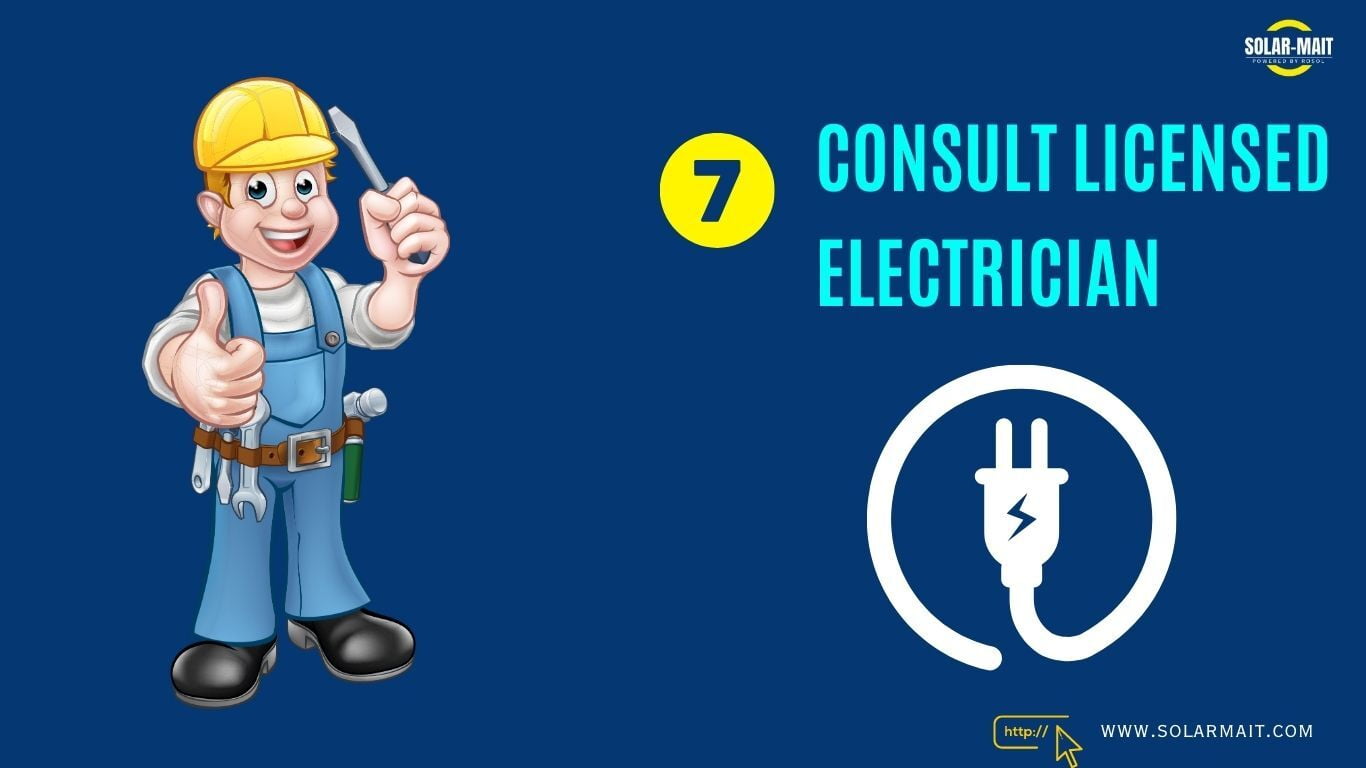
7. Consult licensed electrician:
o Consult with a licensed electrician to ensure proper electrical connections and wiring for your solar panel system.
o Follow electrical codes and guidelines for safely connecting the solar panels to the electrical system of your building or property.
8. Do Quality Checks:
o Inspect the installed mounting structures to ensure they are securely fastened and aligned correctly.
o Verify that the mounting system is level and properly positioned for maximum solar exposure.
o Double-check the integrity of all connections and ensure that no components are loose or damaged.

9. Find Professional Help if Needed:
o If you are unsure about any aspect of the installation process or if it involves complex electrical work, it is advisable to consult or hire professionals with experience in solar panel installations.
o Professional installers can provide expertise, ensure compliance with regulations, and help with any specialized requirements.
Remember, safety is of utmost importance during the installation process. If you are unsure about any step or lack the necessary expertise, it is recommended to seek professional assistance to ensure a safe and successful installation of solar mounting structures
10. You can contact or experts to get a free consultation call from us. Call us on 844-844-6252.

Thank you for reading :)
Krishna Roy
Branding & Marketing Head